Key Takeaways
- Access DJI drone flight tutorial anytime, adjust settings, shoot in RAW for the best shots.
- Customize safety settings, Return to Home, maximum altitude, adjust RTH height.
- Use QuickShots for cinematic videos, try preprogrammed modes for creative shots.
Quadcopters like the DJI Mini series are designed with new pilots in mind. But while DJI drones are packed with beginner-friendly features, you still need to know how to make the most of them.
I know just what features to call on to make shots from the tiny drone look fantastic.
When I launched my first drone, I remember being filled with equal parts anxiety and anticipation. But, now that I’ve learned the ins and outs of my DJI Mini, I know just what features to call on to make shots from the tiny drone look fantastic. For new pilots, unearthing key features like flight tutorials, safety options, camera settings, and preset flight patterns play a key role in both keeping that new drone safe and capturing epic shots.
Best drones: Top 4K camera drones compared
Whether you’re a seasoned flyer or a complete beginner, here are the best 4K camera drones for all budgets.
Yes, DJI drones come with a learning curve — but with these tips, you’ll crest the top of that hill faster.
Learn your
local laws before you fly
. For US flights, the Air Control app will highlight any location restrictions, as well as essential data like weather.
Walk through a DJI drone flight tutorial at any time
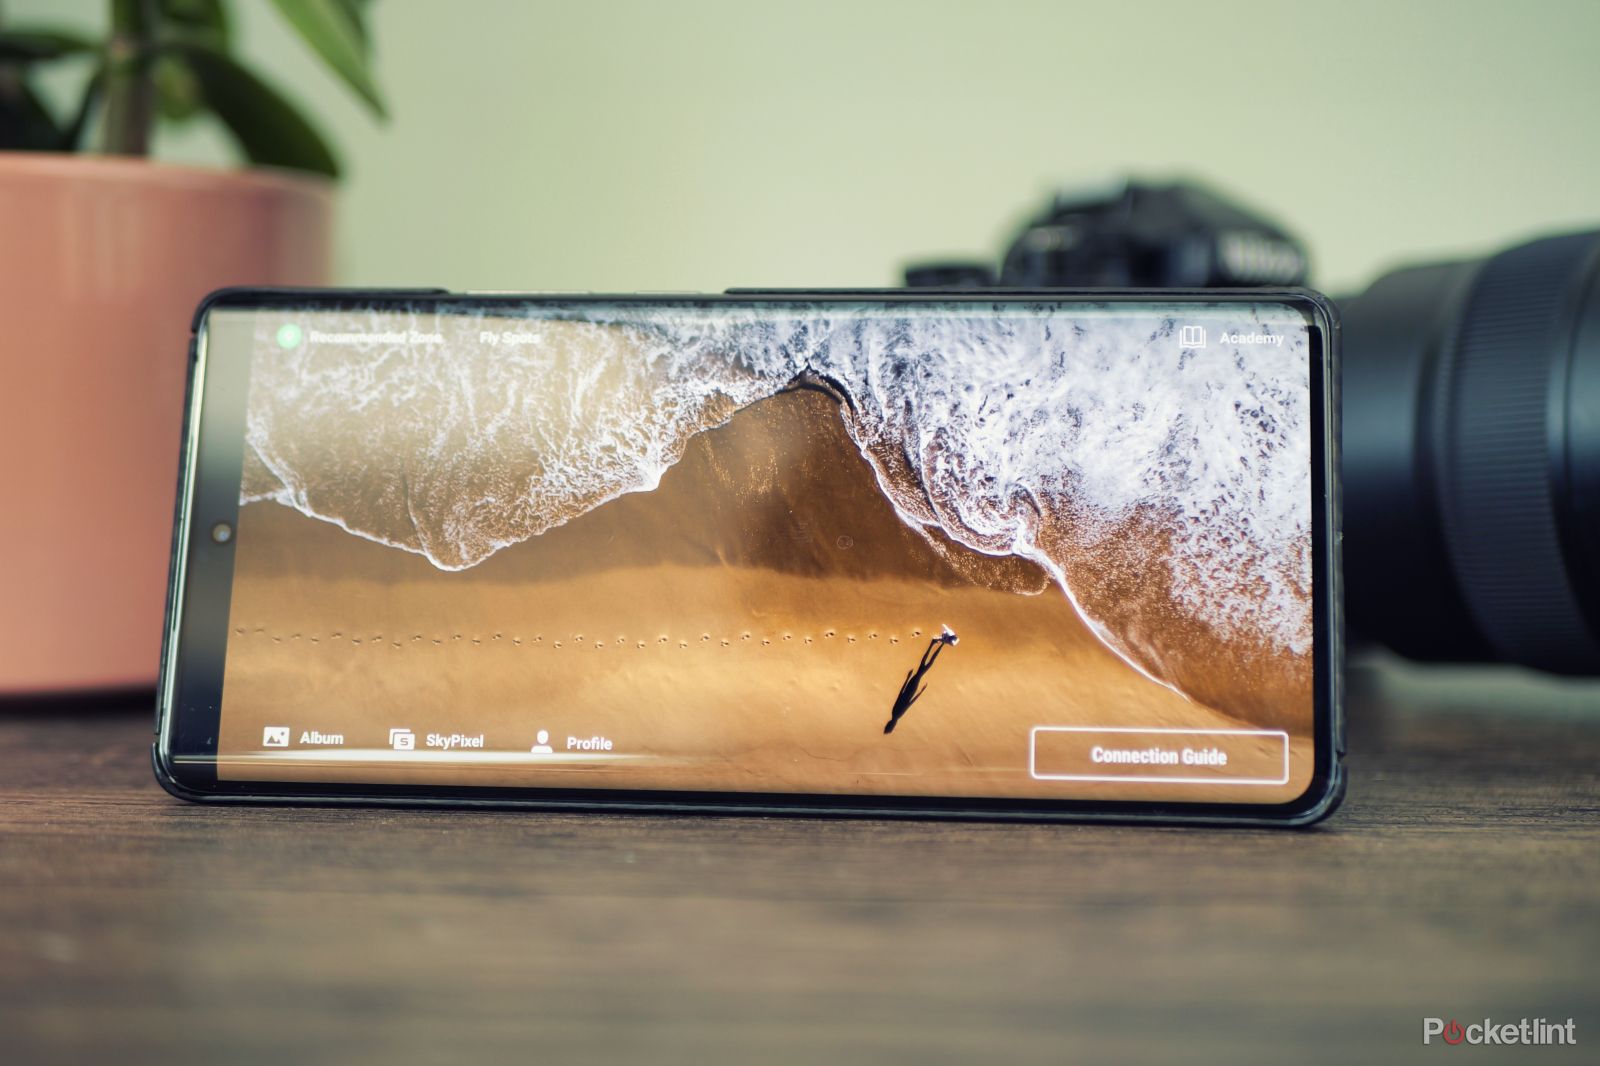
DJI will teach you to fly right in the app
The DJI app will walk you through the ropes before you fly your drone for the first time. You can revisit this tutorial at any time.
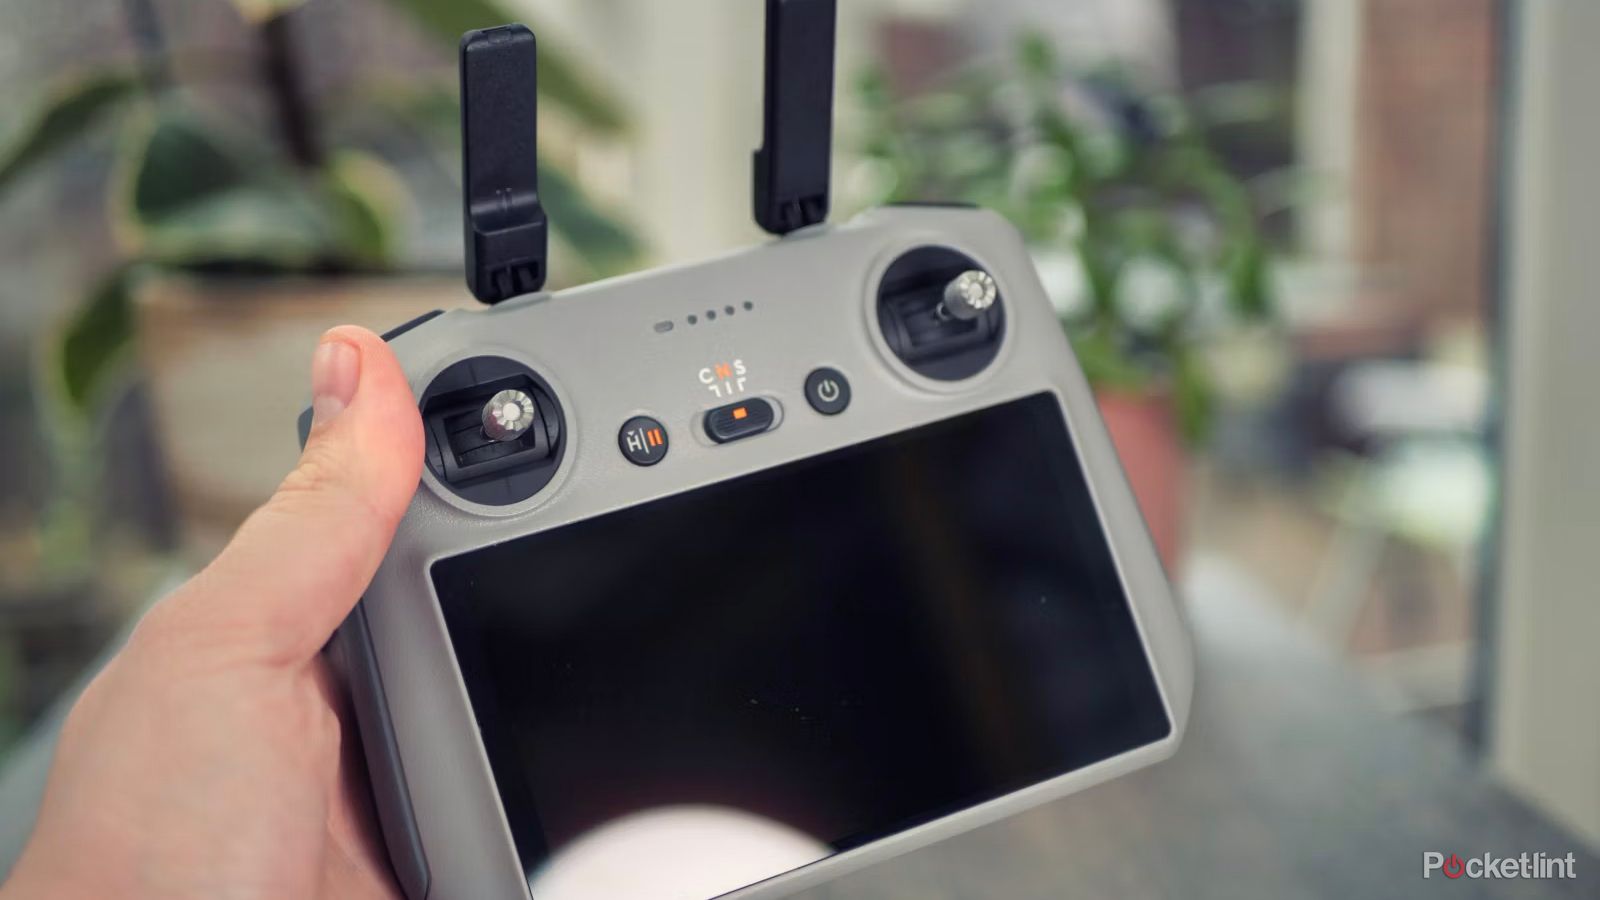
- Power on your drone and controller. (Connect your smartphone if you don’t have a controller with a built-in screen).
- Tap Go Fly.
- Tap the three-dot menu in the upper right corner.
- Select the Control Tab.
- Choose the Flight Tutorial option.
- Follow the on-screen instructions.
How to install the DJI Fly app on Android and iOS
There are a couple of extra steps that you might not expect, but don’t worry, we’ll guide you through the process.
Set your safety parameters before you fly
Find all your drone’s safety options with ease
DJI’s menus are packed to the brim with options, but one that you should visit regularly is the safety menu. Why? This menu houses the different options that determine how your drone will behave if it ever loses connection to your controller. In most scenarios, Return to Home is your best bet; it sends your drone back to where it took off if it loses contact. However, if you’re using a drone without omnidirectional obstacle detection, and you’re flying in an area with a lot of obstacles, you may want to tell your drone to hover in place instead.
In most scenarios, Return to Home is your best bet.
In the same menu, you can also set the return to home height. By default, this is often left high to avoid trees and buildings. However, if you are flying indoors or in an area where there are fewer obstacles at lower altitudes, you’ll want to tweak this setting too.
How to adjust the safety settings on a DJI drone:
- Power on the drone and controller. (Connect your smartphone if you don’t have a controller with a built-in screen).
- Tap Go Fly to enter flight mode.
- Tap the three-dot menu.
- Select the Safety setting from the top tabs.
- Use the settings here to set the maximum altitude and maximum distance (from the controller).
- Set the Auto RTH Altitude at a height with the least obstacles.
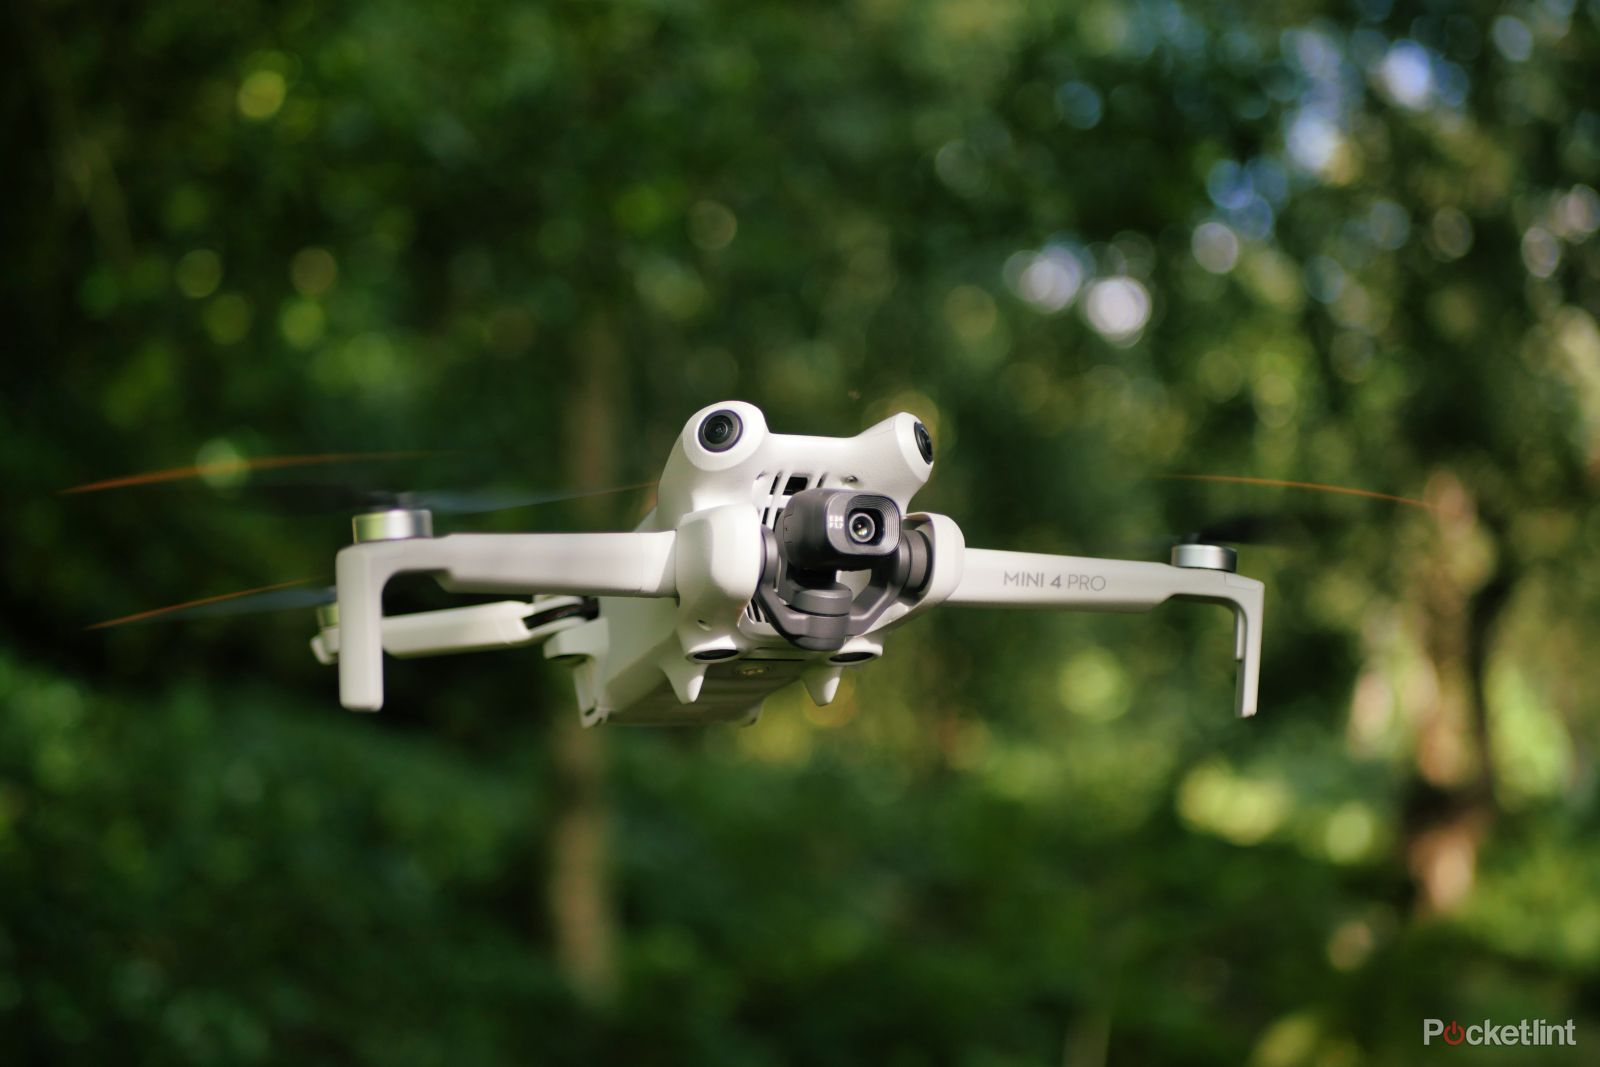
DJI Mini 4 Pro review: Aerial perfection
Our favourite Mini drone gets a healthy upgrade for 2023.
Adjust your camera settings for the best results
Switching to RAW mode and adjusting resolution is key to great stills
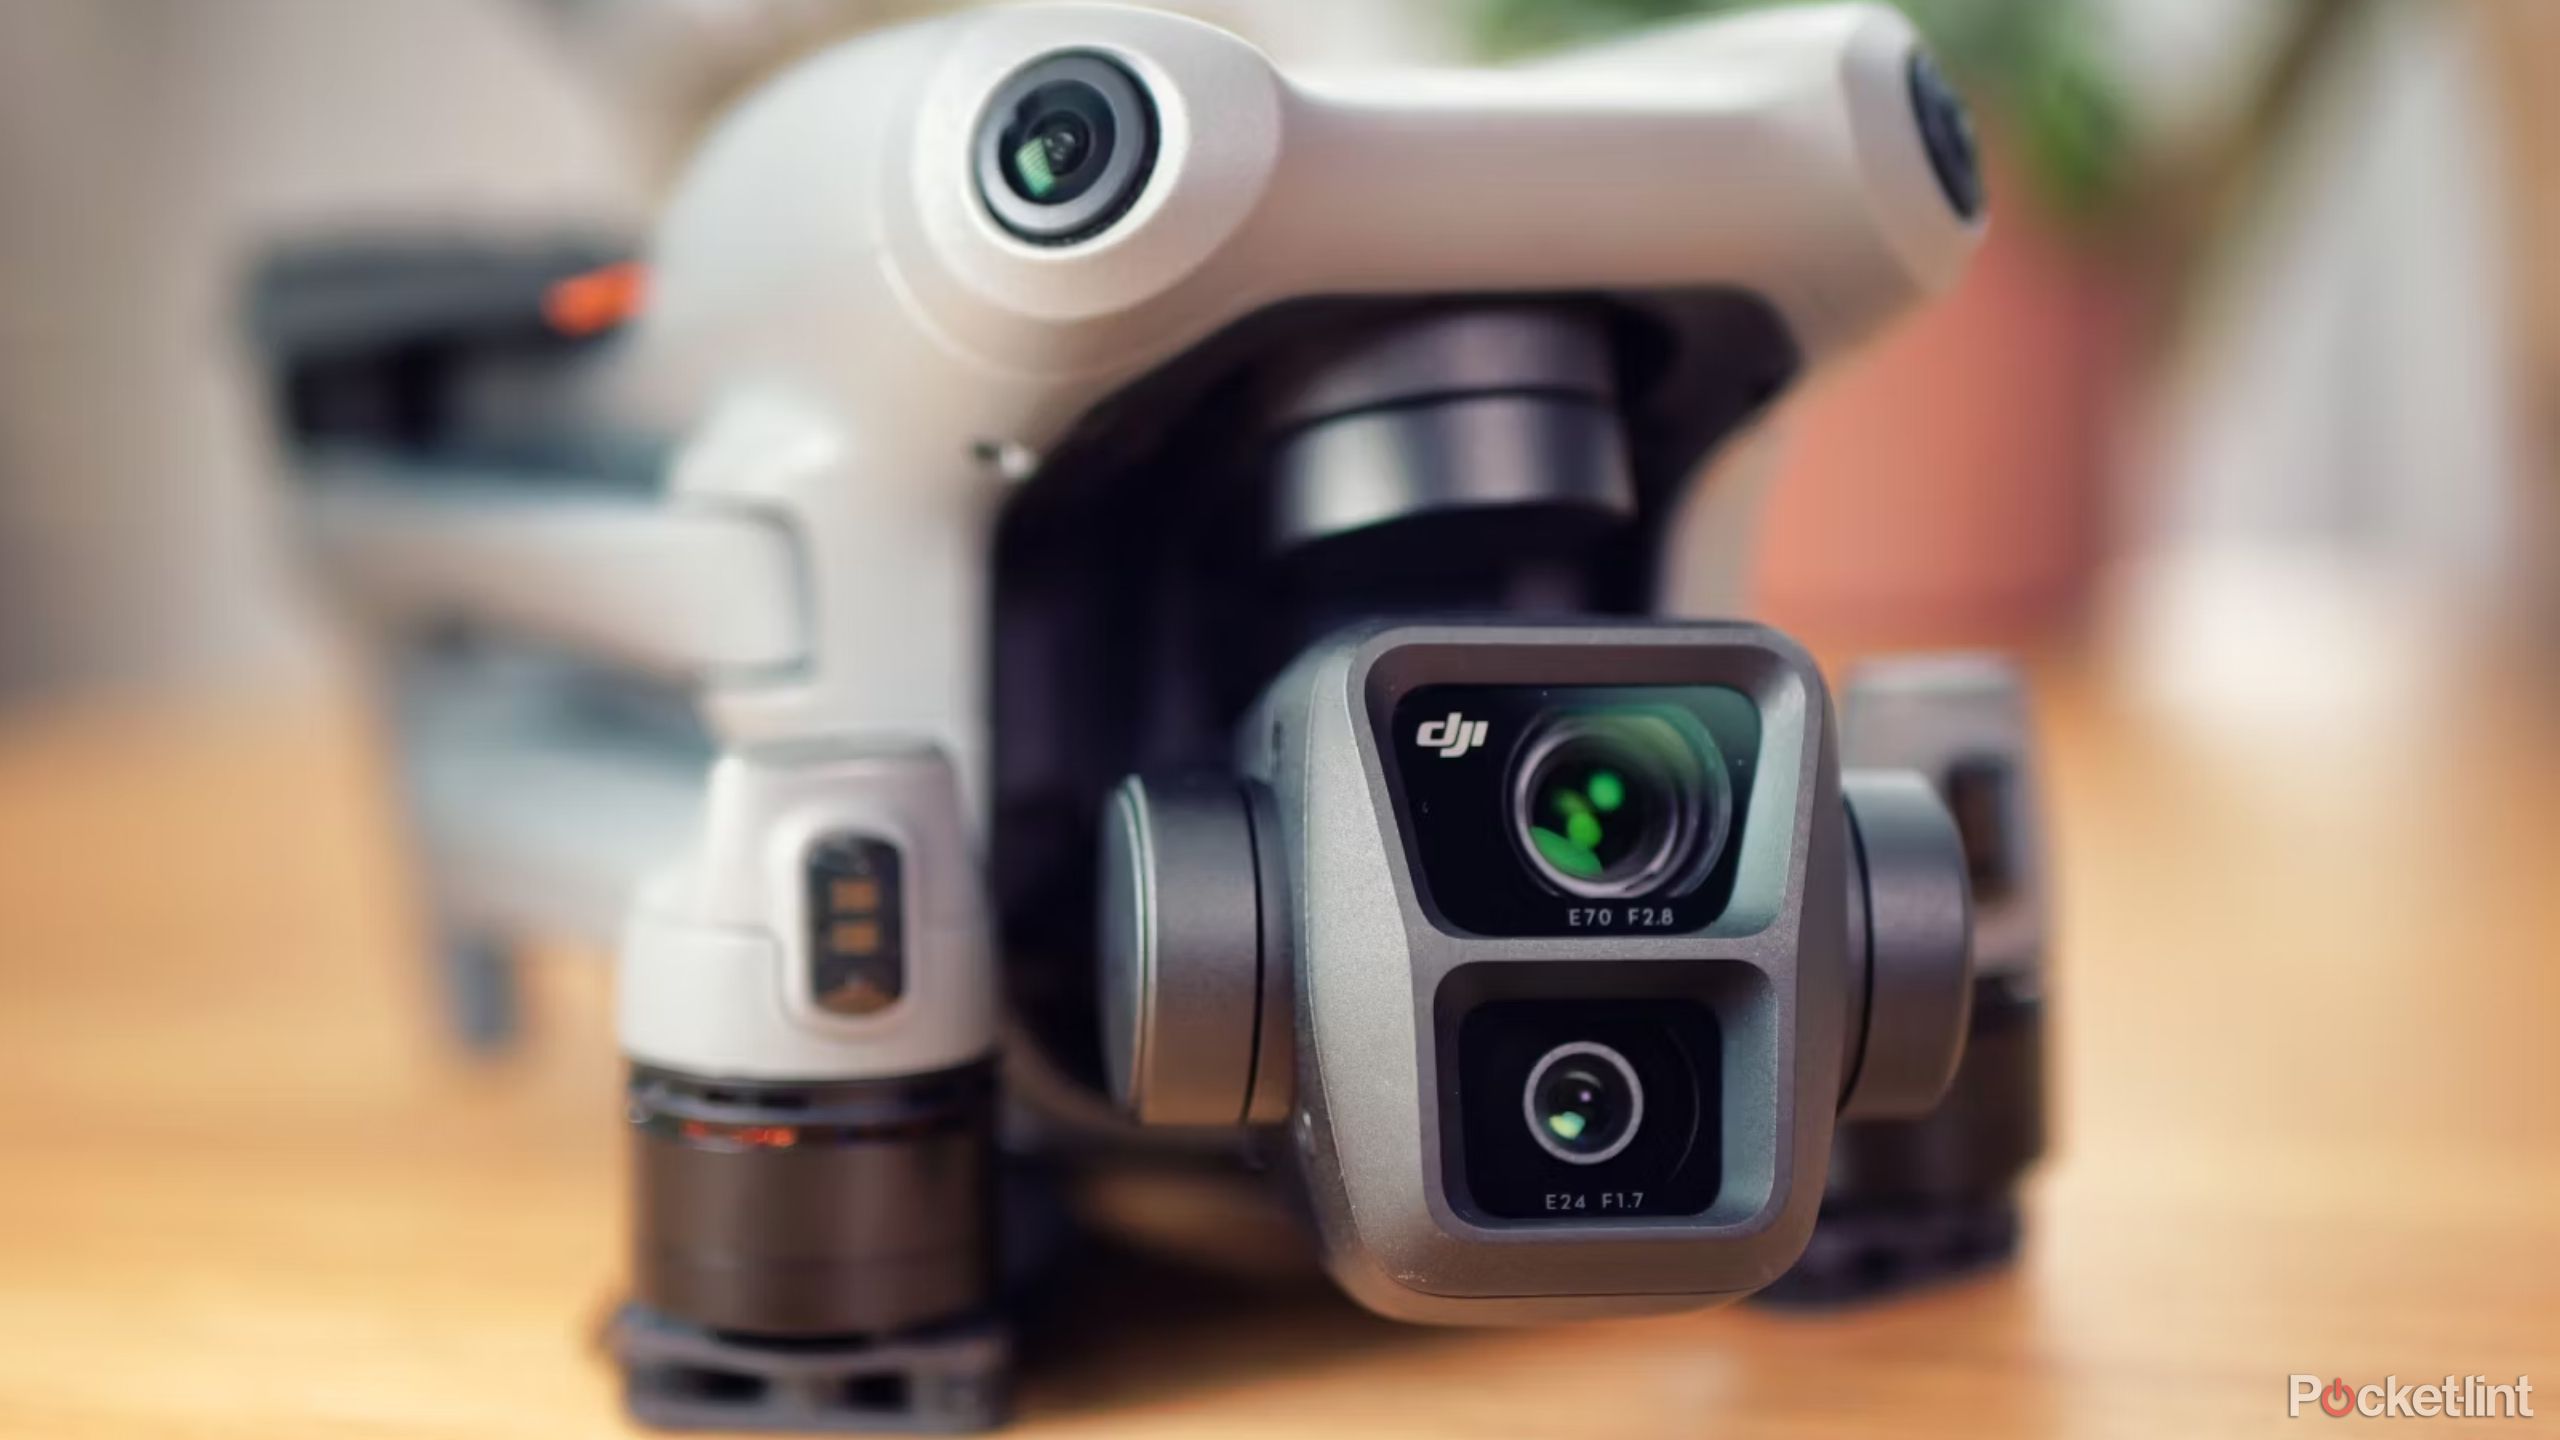
Adjusting the camera settings is one way to get great results from DJI’s cameras. The two biggest things to adjust are resolution and format. Learning manual camera settings is important too.
Many of DJI’s newest drones offer multiple resolution options. For example, the DJI Mini 4 Pro can shoot stills at 48 megapixels or 12 megapixels. However, bigger isn’t always better. Use the high-resolution mode when light is plentiful, such as when flying outdoors during the day. Use the lower resolution option when light is limited, such as when flying indoors or at sunset; the high-resolution mode will produce a grainy image in limited light.
You’ll be able to adjust exposure and white balance more easily.
One of the best ways to get the most out of a drone camera, even the small ones on DJI’s Mini series, is to shoot JPEG + RAW. RAW files require editing, but you have much more latitude. You’ll be able to adjust exposure and white balance more easily. If you don’t need to edit, JPEG + RAW mode means you still have the JPEG for quick sharing without opening an editing app.
In most cases, you’ll want to shoot video at the highest resolution possible and at least 30 fps frame rate. Increase the frame rate if you want to add slow-motion effects later. If you are only shooting for Instagram (which only uses 1080p) or are short on memory, you can lower the resolution for smaller file sizes but reduced quality.
How to adjust the camera settings on a DJI drone
- Prepare your drone for flight, connecting the drone and controller and accessing the Go Fly view. Camera parameters can be adjusted before or during flight. Adjusting ahead of time helps conserve battery life and ensures you’re able to keep your eyes on your drone.
- Enter the shooting mode that you want to edit parameters for. If you want to adjust settings for still photos, you’ll need to be in Photo Mode. The same applies for editing video settings — you’ll need to be in Video Mode.
- Tap the three-dot menu in the upper right corner.
- Tap the Camera tab.
- For photos, adjust your resolution and aspect ratio as needed. Select JPEG + RAW shooting option for the best edits.
- Exit the menu. Tap the camera icon in the bottom right corner to switch from auto to manual mode and vice versa.
- To adjust exposure settings or video resolution, tap the bottom right corner where the screen lists resolution (in video mode) or shutter speed and aperture (in photo mode). Drag your finger along the option you want to change the individual settings. Settings are organized into two tabs, so use the dial icon and aperture icon to look through the different options.
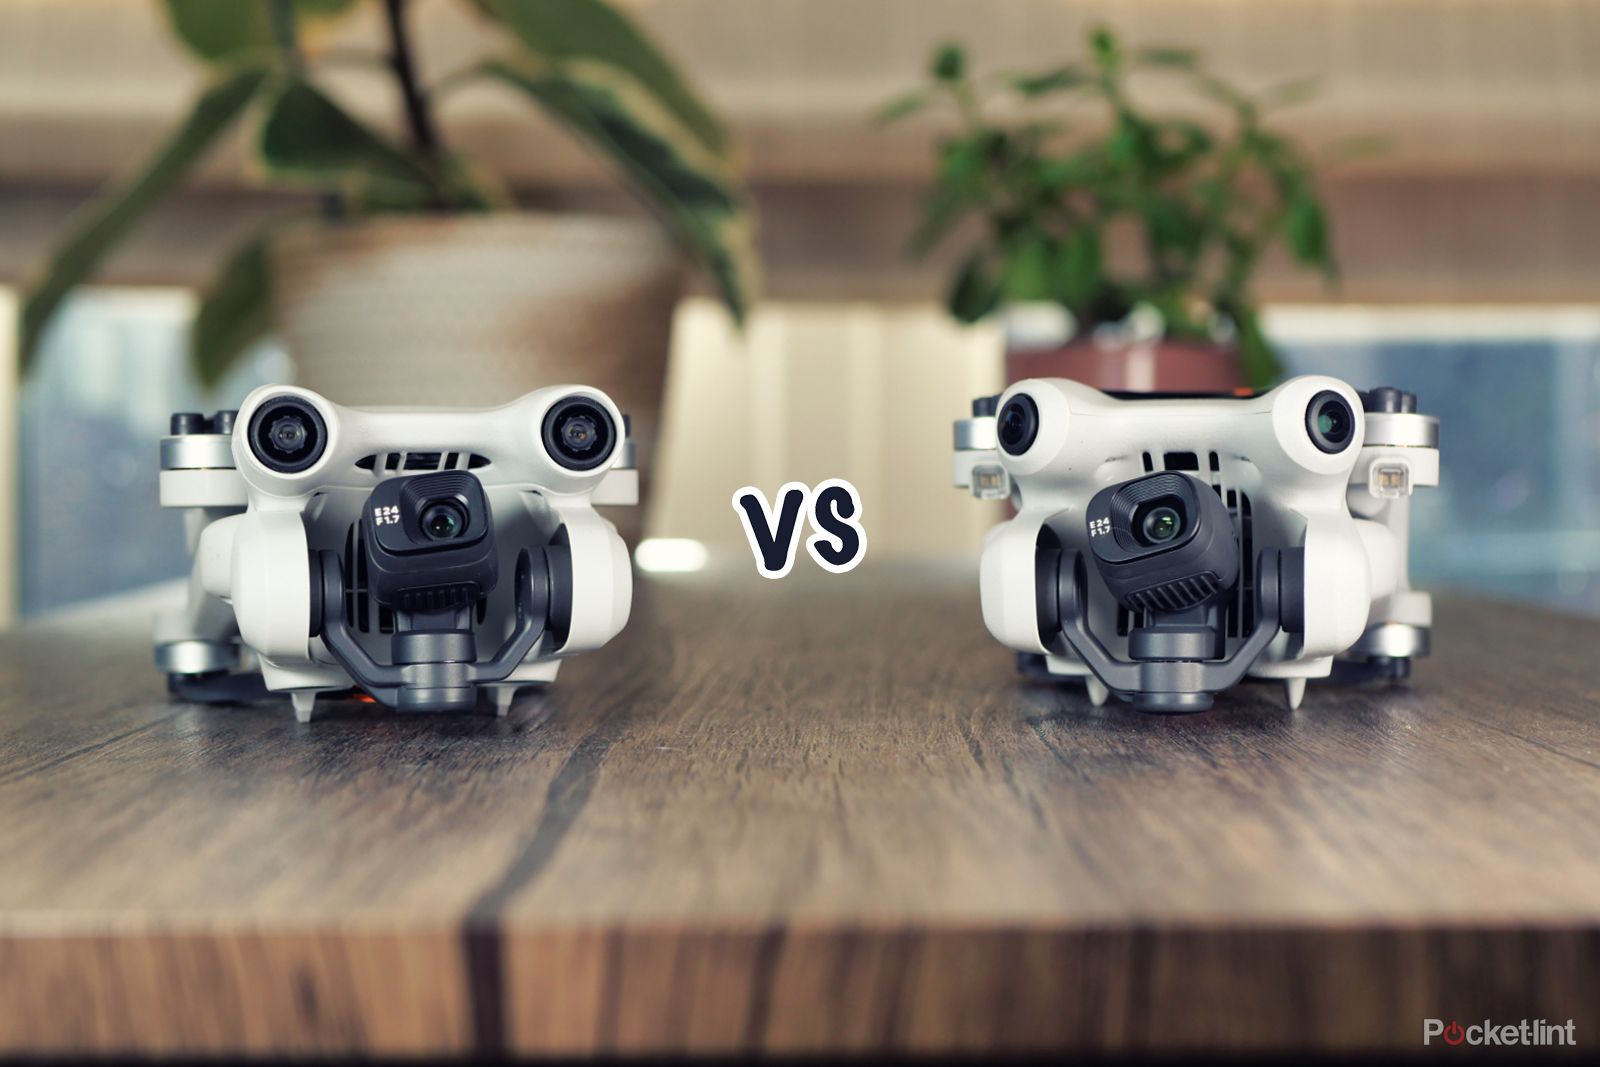
DJI Mini 4 Pro vs DJI Mini 3 Pro: What’s new?
DJI’s latest Mini drone has landed, but how does it differ from its predecessor? We explain it all.
Use QuickShots for cinematic camera movement
Create pro-looking videos with just a few taps
QuickShots are DJI’s preprogrammed flight modes that allow novices to create videos with cinematic flight movement. This is one of the easiest ways for new pilots to create a short, easily shareable video for social media.
Quick Shot modes include:
- Dronie: Fly backwards while climbing in height for a video drone selfie
- Rocket: Fly upward quickly with the camera pointing down on the subject
- Circle: Fly around the subject in a circle
- Helix: Fly around the subject while ascending in a spiral
- Boomerang: Fly in an oval around the subject, climbing in height while flying away and descending while returning to the subject
- Asteroid: Flies back and up while taking photos, resulting in a Tiny Planet panorama at the highest point and a video of the descent back
MasterShots is a similar DJI drone feature, only this mode shoots and then edits a series of camera movements together into one video.
How to use DJI QuickShot flights
- Follow the steps for preparing for flight, including powering on, connecting the controller, and performing a preflight safety check. The mode should be set to N on the controller.
- Launch the drone. Ideally, you should launch in an open area with limited obstacles, especially for models without full obstacle detection.
- While hovering in place, tap the shooting mode icon on the right-hand side and select Quickshots from the video menu.
- Choose the QuickShot mode you would like to try, then select your desired flight distance. Start small if you’re unsure. For some modes, like Circle and Helix, you’ll also use the arrow on the screen to select the direction to fly in.
- Select the person or object that you want to be the focus of your video by tapping and then dragging your finger to draw a box. Or, tap the + icon that’s displayed if the drone detects a person.
- When you are ready, tap Start to begin both recording and flying.
- Monitor the path of the drone and tap X if you need to stop. Otherwise, the drone will return to its original position when finished.
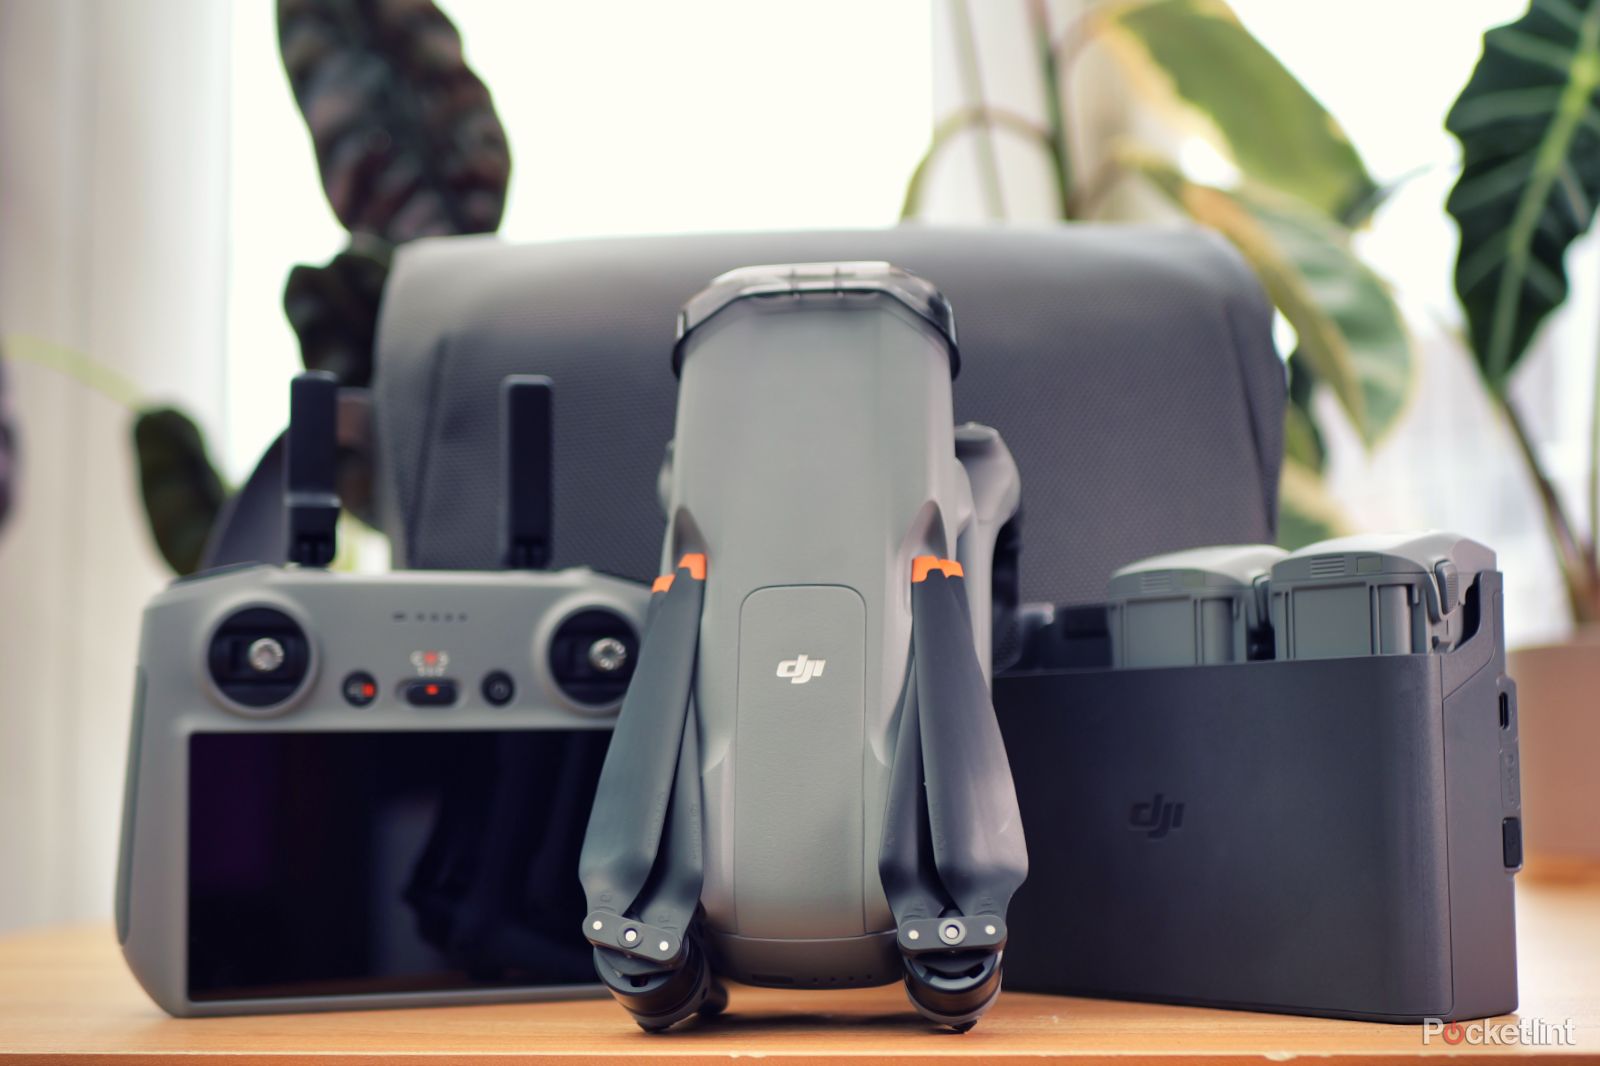
Best DJI Air 3 accessories: Upgrade your drone
Top-notch accessories for the DJI Air 3 to take your drone flights to the next level.
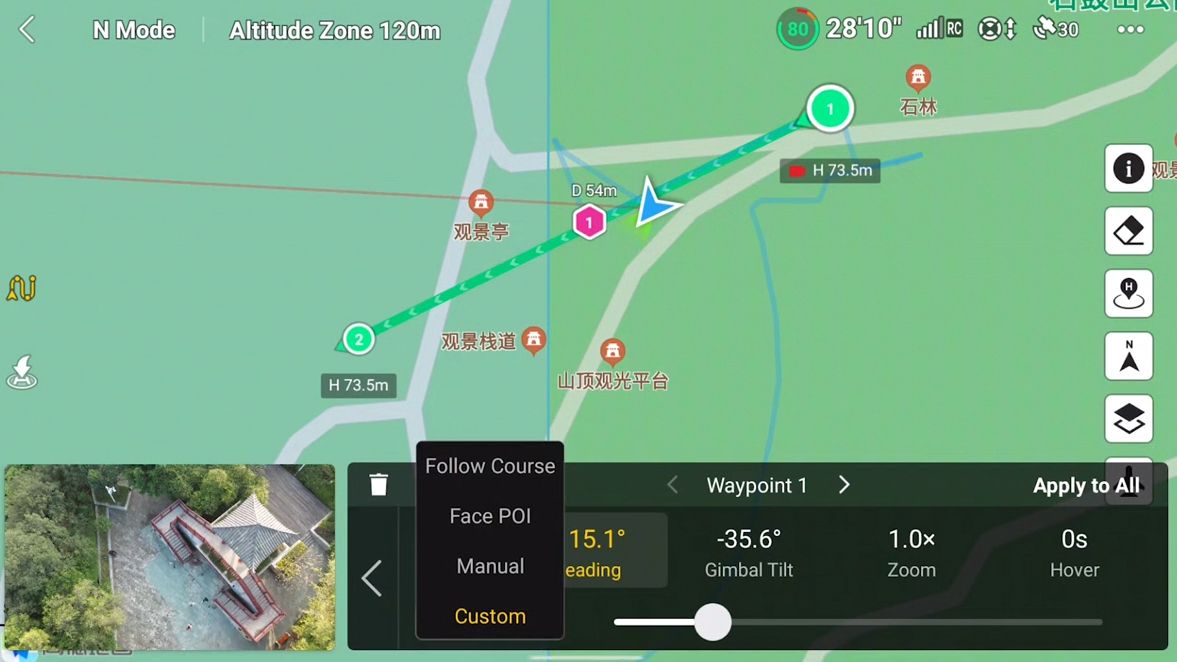
Use Waypoints to plan out flights
As you learn how to make your moves less jerky, try creating a custom flight pattern
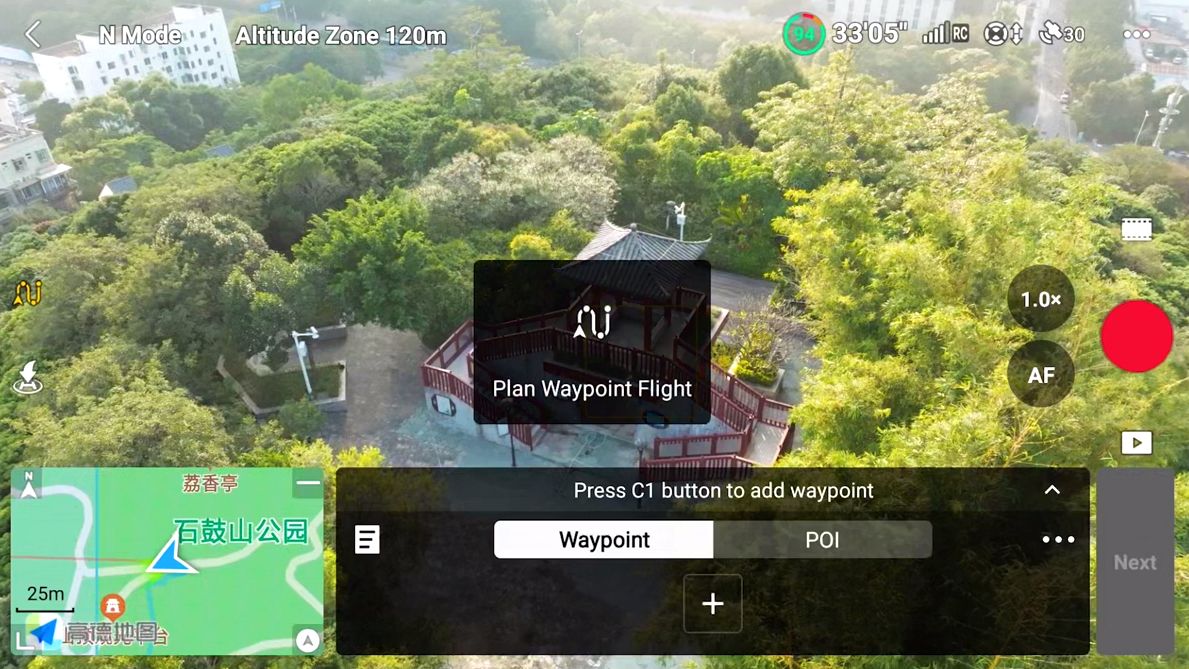
Newer DJI drones include a feature called Waypoints, which is a way to create a custom flight path and have the drone automatically fly between preset points. Besides customizing a complex flight path, Waypoints can also be saved, which allows you to return your drone to that exact same position later — a key took for shooting before and after photos months apart or shooting the same video but in different seasons.
You’ll need a compatible drone for Waypoints, a list that currently includes the DJI Mini 4 Pro, DJI Air 3, and the DJI Mavic 3 (regular, Cine and Classic models).
How to create custom flight patterns on DJI using Waypoints
- Follow the usual steps to prepare for flight, including powering on, connecting, and tapping Go Fly.
- Once in the flight view, tap the Waypoints icon, the squiggly line that’s above the Return to Home/ Take Off button on the left of the screen.
- The simplest way to create a Waypoint is to fly to the desired position, perfect your position including zoom and gimbal position, then tap the + icon to add a point.
- If you want the camera to face a certain landmark or object, tap the POI on the screen. Then, press and hold on the object or landmark that you want the camera to focus on.
- Repeat steps 3 and 4, adding Waypoints and POIs until the route is complete.
- Once Waypoints and POI are set, select eachWaypoint to further customize. Tap on the different options to adjust altitude, gimbal tilt, speed and more. You can also tap on the map to add another point, or drag an existing point. If you’ve set a POI, tap on the POI to adjust any settings as well.
- Tap the three-dot icon that’s within the Wayfinder window. Here, you can adjust settings like the speed the drone travels between points, the pace of the gimbal or camera, and what the drone should do once the route is completed.
- Once you’ve customized the Waypoints, check the Safety tab in the …menu and double-check that obstacle avoidance is turned on. Visually check the area for obstacles.
- Tap Go. If necessary, tap the pause button on the screen or controller to avoid any obstacles or to go back and edit your settings.
- To save a Waypoint to use it again later, tap on the list icon on the left side of the Waypoints Window. Routes are autosaved, but you can tap the save button to manually save. Tap the pencil icon by the name to rename the route to something you’ll remember later.
- To pull up a saved Waypoint, just tap it from the list.

How to install the DJI Fly app on Android and iOS
There are a couple of extra steps that you might not expect, but don’t worry, we’ll guide you through the process.
Trending Products

Cooler Master MasterBox Q300L Micro-ATX Tower with Magnetic Design Dust Filter, Transparent Acrylic Side Panel…

ASUS TUF Gaming GT301 ZAKU II Edition ATX mid-Tower Compact case with Tempered Glass Side Panel, Honeycomb Front Panel…

ASUS TUF Gaming GT501 Mid-Tower Computer Case for up to EATX Motherboards with USB 3.0 Front Panel Cases GT501/GRY/WITH…

be quiet! Pure Base 500DX Black, Mid Tower ATX case, ARGB, 3 pre-installed Pure Wings 2, BGW37, tempered glass window

ASUS ROG Strix Helios GX601 White Edition RGB Mid-Tower Computer Case for ATX/EATX Motherboards with tempered glass…


